


NOTE: The username is always the full email address you are setting up.

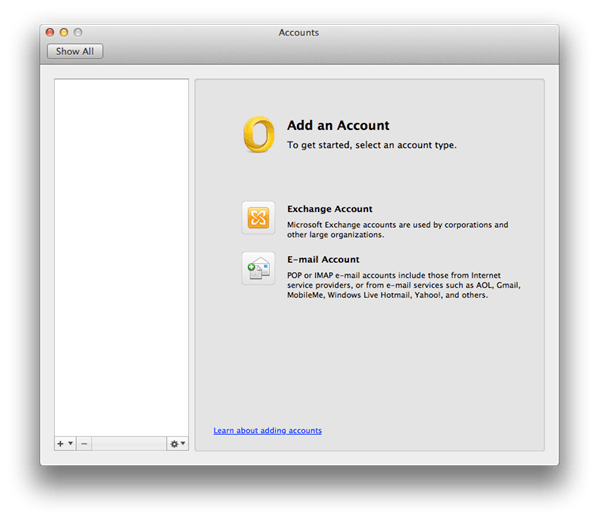
To verify your account settings, ensure they are set up as shown in the image above. However, if you get a notice that states: Sorry! We couldn’t find a match, then click the IMAP/POP icon to continue. If successful, you’ll see a screen showing the correct settings and an option to Add Account. Outlook for Mac will now try to auto-detect the settings to connect to the server. Input your email address, then click the Continue button. The Set Up Your Email screen will appear. Ĭlick the + button and choose New Account : However, if you already have one or more email accounts set up in Outlook and wish to add a new one, simply click the Tools menu at the top of the screen, then choose Accounts. You will need to change some of the settings to match your setup. NOTE: For this tutorial, we will use as our test email account. If you’ve never opened Outlook for Mac before, when you do for the first time, you’ll be prompted to set up an email account immediately, and can skip to the next step.
Please note that if you have not already done so, you will first need to configure and activate your HostPapa email service. This tutorial describes how to set up HostPapa Basic or Advanced email in Outlook for Mac.